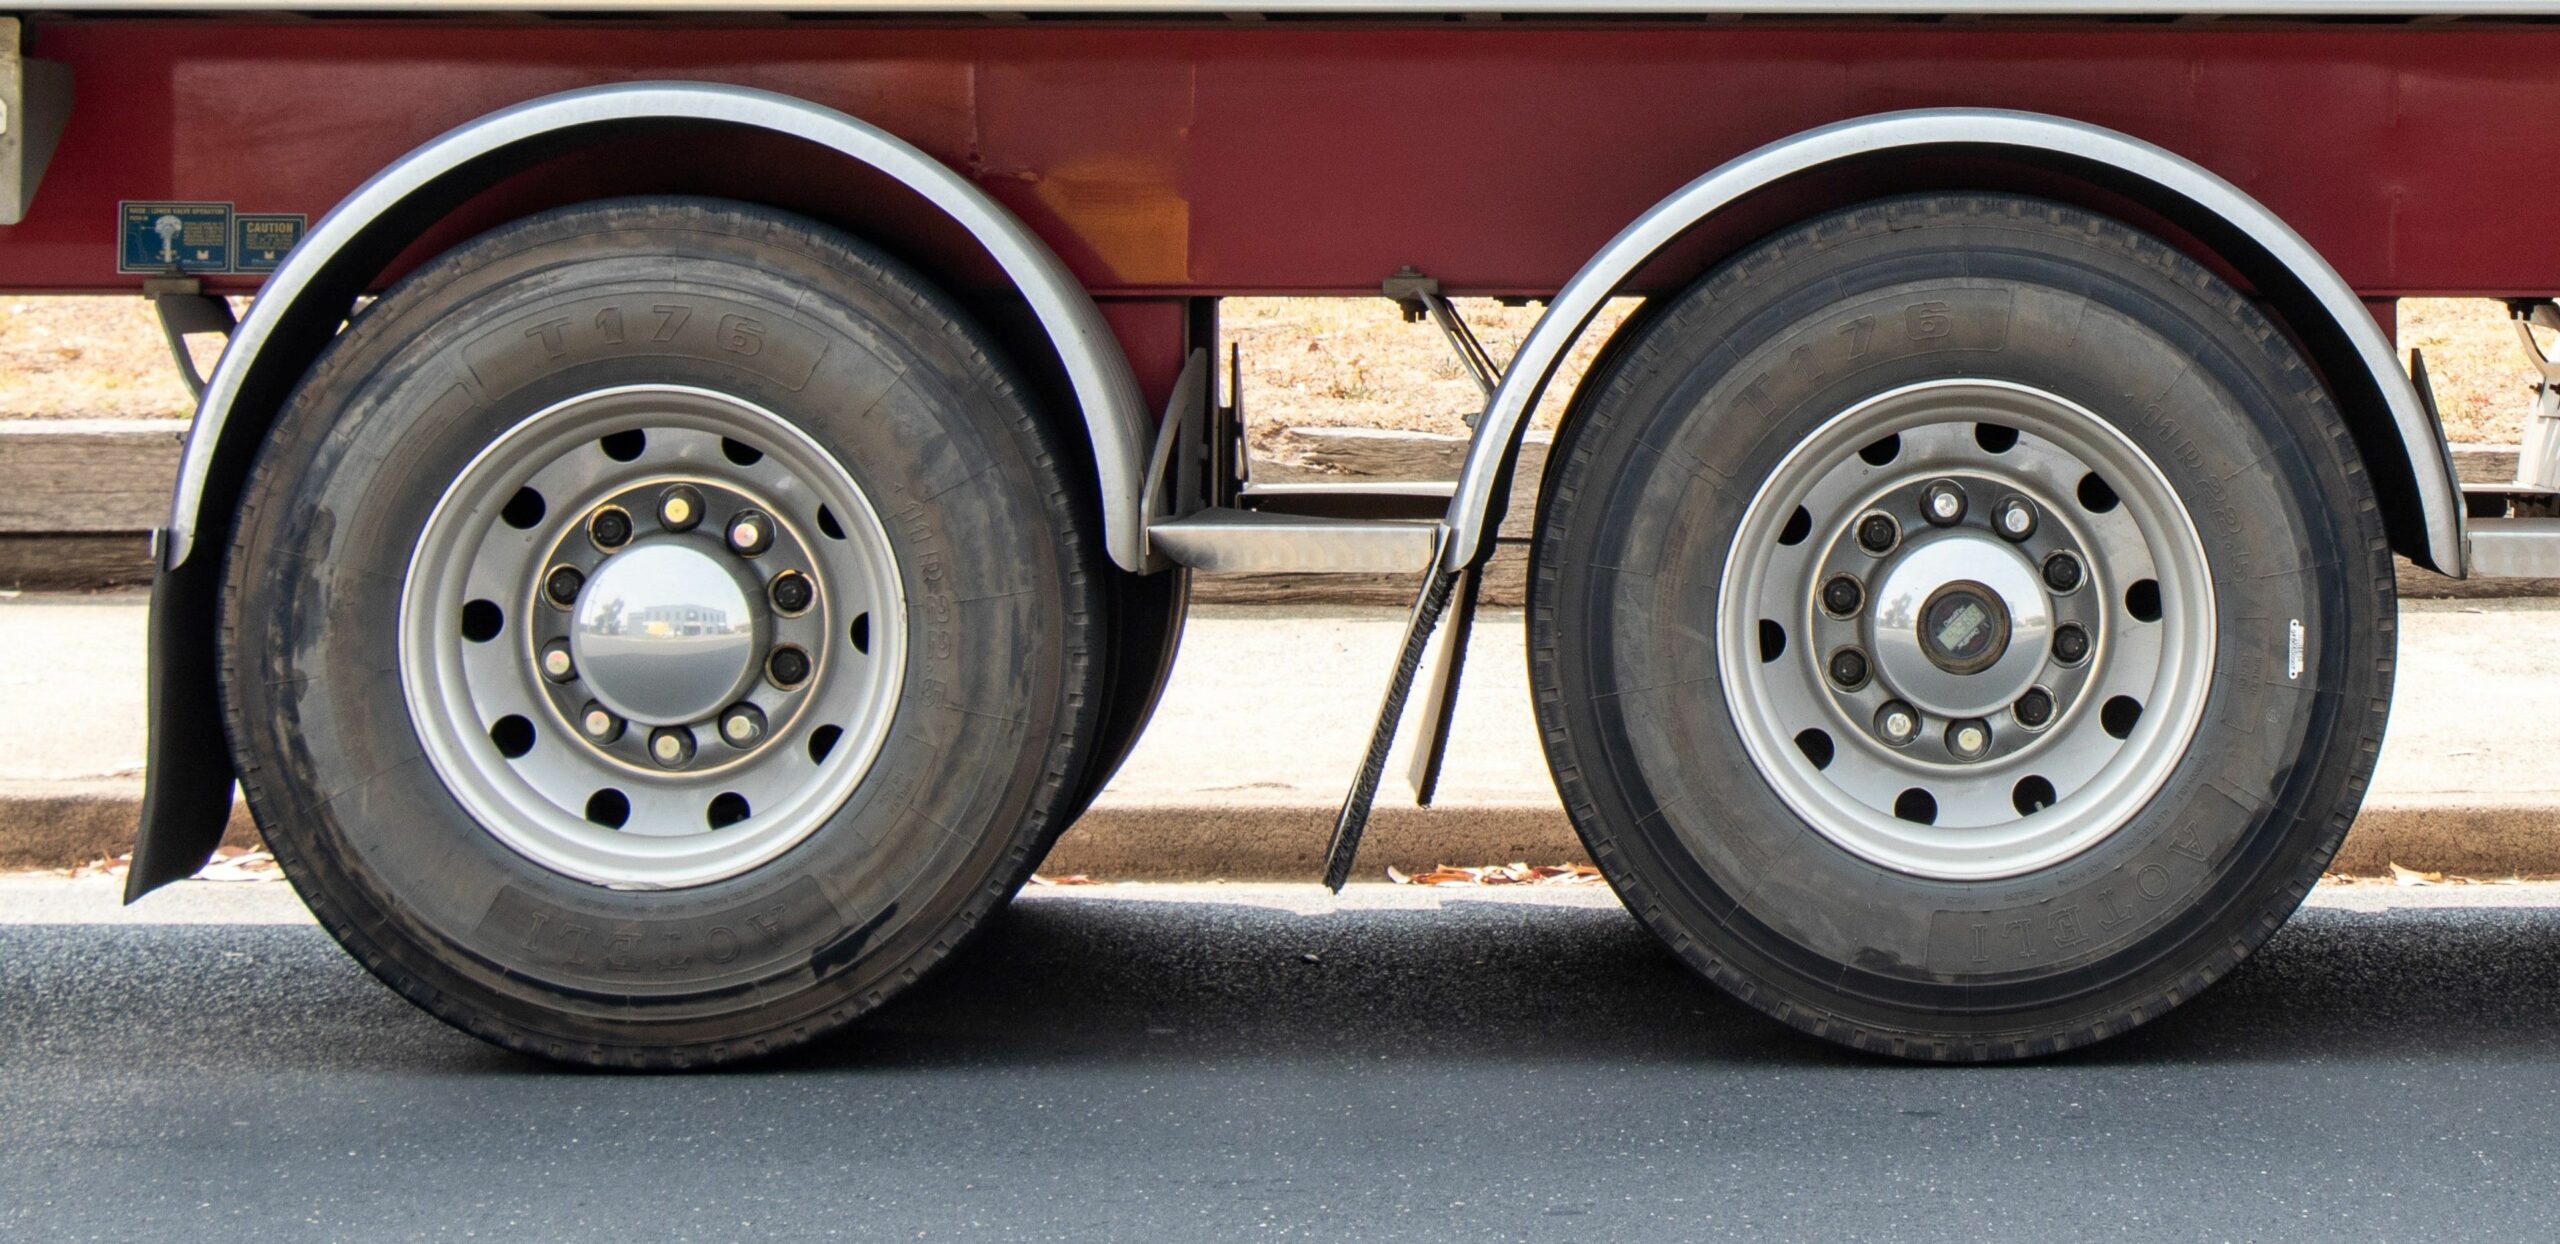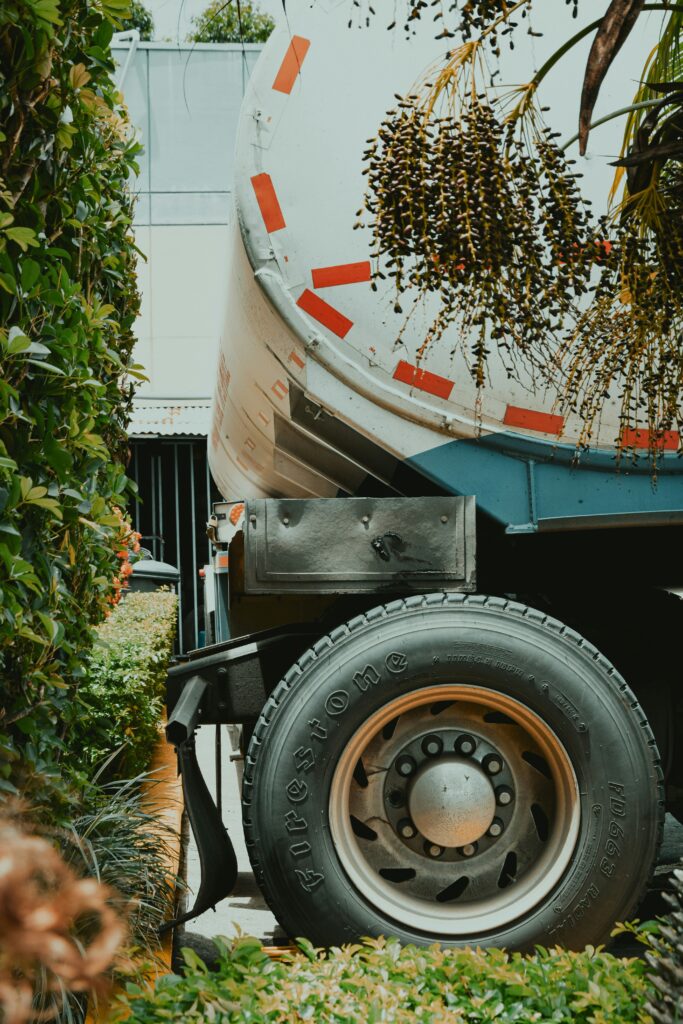
Wheel hub nuts keep the driveshaft within the wheel hub and is a crucial part of what ensures you have drive in your vehicle. Without a wheel hub nut, there is nothing to hold the driveshaft in place. This doesn’t mean that if the wheel hub nut is absent that the wheel will fall off, but you do run a serious risk of the driveshaft falling off. In some instances, it could snap off entirely.
Wheel nuts can come loose due to the vibration and strain that they’re put through due to the heavy loads that they carry. HGV wheel nuts are much more likely to come loose than the wheel nuts on cars that carry nothing like the same kind of weight. When an HGV wheel has been replaced, it’s important that the wheel nuts are inspected and retorqued after travelling around 100 miles.
The Police and the DVSA have the power to carry out spot checks on lorries with substantial fines for those who are found to have wheel nuts that have been compromised.
Removing a wheel hub nut
Removing an HGV wheel hub nut is a relatively straightforward process as long as you have the correct tools at hand, and the wheel hub nut itself isn’t too damaged. The wheel hub nut will usually be removed when a new hub assembly is being fitted. Once the axle nut has been removed, it sometimes requires the use of a wheel hub puller to separate the hub from the axle spline.
- Removing the hubcaps
To safely remove a wheel hub nut ensure that the vehicle is safely parked on a level surface. The hubcap might need to be removed before you can access the nuts to remove them. Hubcaps will usually be attached by metal clips or plastic lugs or might be held in place by the lug nuts themselves.
Hubcaps can be prised off using a flathead screwdriver or the flat end of the tire iron. Do this carefully against a solid or thicker part of the hubcap. If your hubcaps are held on by lug nuts, it’s important not to attempt to remove them until the lug nuts have been removed entirely. If you attempt to do so you will end up damaging them.
If they’re secured in place with plastic lugs, then these will need to be removed completely with a lug wrench. You should always avoid using excessing force when both removing and reinstalling to avoid causing damage.
- Use a lug wrench to remove the nuts
A lug wrench should fit the lug nuts that are used on your wheel assembly, and in most cases, you shouldn’t need any other tools to remove them. A lug wrench can be either a straight bar or two crossed bars. The crossed bars can give you extra leverage as you’re able to grab onto each side of the crossed bars, and then twist the tool with all of your arm strength.
Place the lug wrench on the nuts and move them counter-clockwise. Pull hard on the wrench until you feel the nut begin to loosen. You don’t need to remove the nut entirely with the wrench, use it to loosen the nuts enough for them to be removed with your fingers.
- Remove the wheel and tyre assembly
Once the lug nuts have been removed, you can then remove the wheel and tyre assembly. Remove the caliper from the caliper mounting bracket, ensuring that the caliper is properly supported with either an s-hook or a piece of wire. Remove the caliper mounting bracket, and then the brake rotor. If applicable you may need to remove the dust cover to gain access to the axle nut.
- Use an axle nut socket to remove the wheel hub nut
You can then use an axle nut socket to remove the wheel hub nut. You should always refer to the manufacturer’s instructions regarding nut replacement. A breaker bar is commonly all that’s needed to loosen and then remove the nut with an axle nut socket. If a stubborn axle nut refuses to move, then a rust-penetrating oil will usually help it do so. A very rusty nut may need repeated applications and an overnight soak in order to free it.
Your trusted wheel hub repair and reconditioning service
CV Hubs & Bearings provide a comprehensive wheel hub repair and reconditioning service for commercial vehicles. Our experienced and professional approach caters for your individual requirements, and our technicians are always more than happy to help.
We offer a one hour repair guarantee, from arrival at our premises through to completing the job. We aim to get you back on the road in no time all with minimum disruption to your business.
Contact us today to find out more about services.
Back to news

