Knowing how to inspect trailer bearings is essential for ensuring that your trailer operates safely and efficiently over time. With regular, heavy use, bearings can quickly wear down due to friction, heat, and exposure to water, debris, and other contaminants. Regular inspections can help to prevent costly repairs or potentially dangerous incidents when out on the road.
What is the process for inspecting trailer bearings?
Gather the tools and equipment
The first task when inspecting trailer bearings is gathering all of the necessary tools and equipment. This will typically include:
- A jack and jack stands to safely lift the trailer
- A lug wrench or socket set to remove the wheel
- Pliers and a screwdriver to remove the bearing cap and cotter pin
- Clean rags or shop towels for cleaning parts
- Wheel bearing grease for reassembly
- A torch for a detailed inspection
Once you’ve gathered the tools you need, you can then move on to the next step in how to inspect trailer bearings.
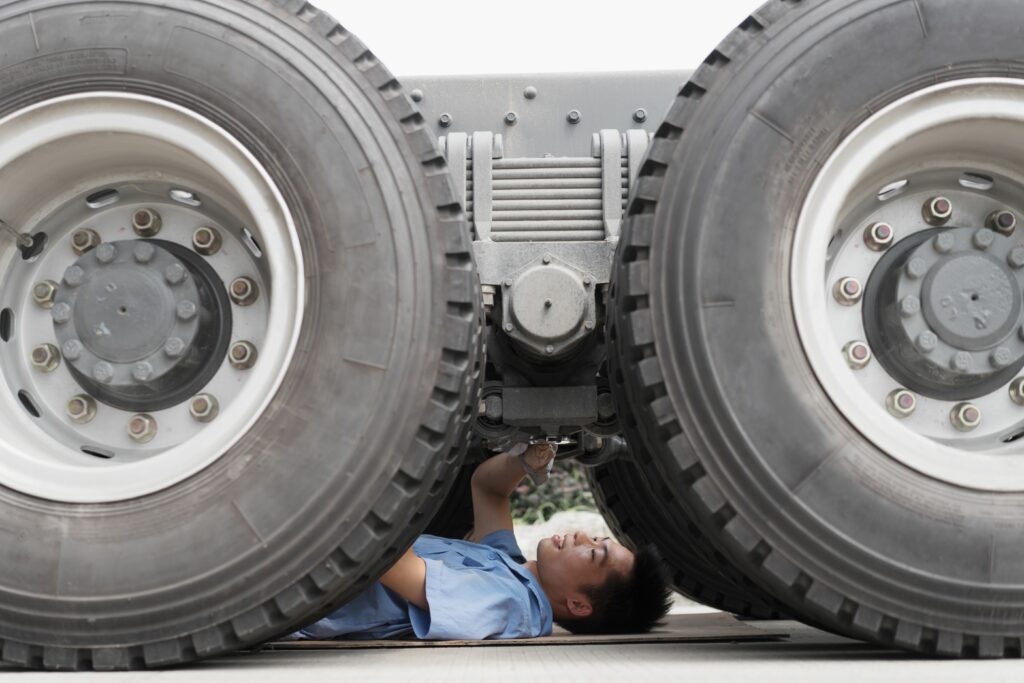
Removing the wheel
You will need to lift the trailer and remove the wheel to inspect the bearings. The trailers should be parked on a level surface, with the opposite wheeled being chocked to prevent any movement. You should then use a jack to lift the trailer axle, securing it in place with jack stands. The lug nuts can now be removed and the wheel taken off to expose the hub assembly.
Remove the bearing components
The next step in knowing how to inspect trailer bearings is to pry off the dustcap with a screwdriver, remove the cotter pin and secure the spindle nut. Unscrew the spindle nut, remove the washer, and carefully slide the hub off the spindle, ensuring that the outer bearing remains in place. You can then extract the inner bearing from the hub.
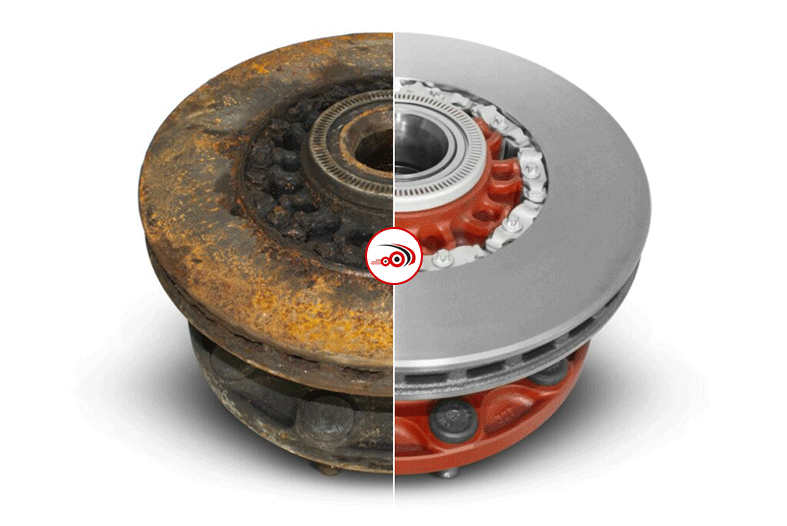
Inspect the bearings and races
Check the bearings and races for any signs of wear, rough surfaces, or pitting. Blue or darkened discolouration can indicate overheating caused by inadequate lubrication. Water ingress can lead to rust, so ensure that your bearings are rust free. The bearing should rotate smoothly without roughness or noise when you spin it in your fingers.
Clean and repack the bearings
Thoroughly clean the bearings, races, and hub using a solvent or degreaser. Dry all of the clean components before applying new grease. You can then repack the bearings with fresh, high-quality wheel bearing grease. Ensure that the grease is worked into all crevices. The inner bearing and a new grease seal can be installed into the hub.
Reassemble and test
Slide the hub back onto the spindle, followed by the outer bearing. Then, reinstall the washer and spindle nut, tightening according to the manufacturer’s specification. Next, insert a new cotter pin, bending it into place to secure the nut.
Reattach the dust cap before reinstalling the wheel and properly tightening the lug nuts. You can spin the wheel by hand to ensure that it moves smoothly, checking for excessive movement or play.
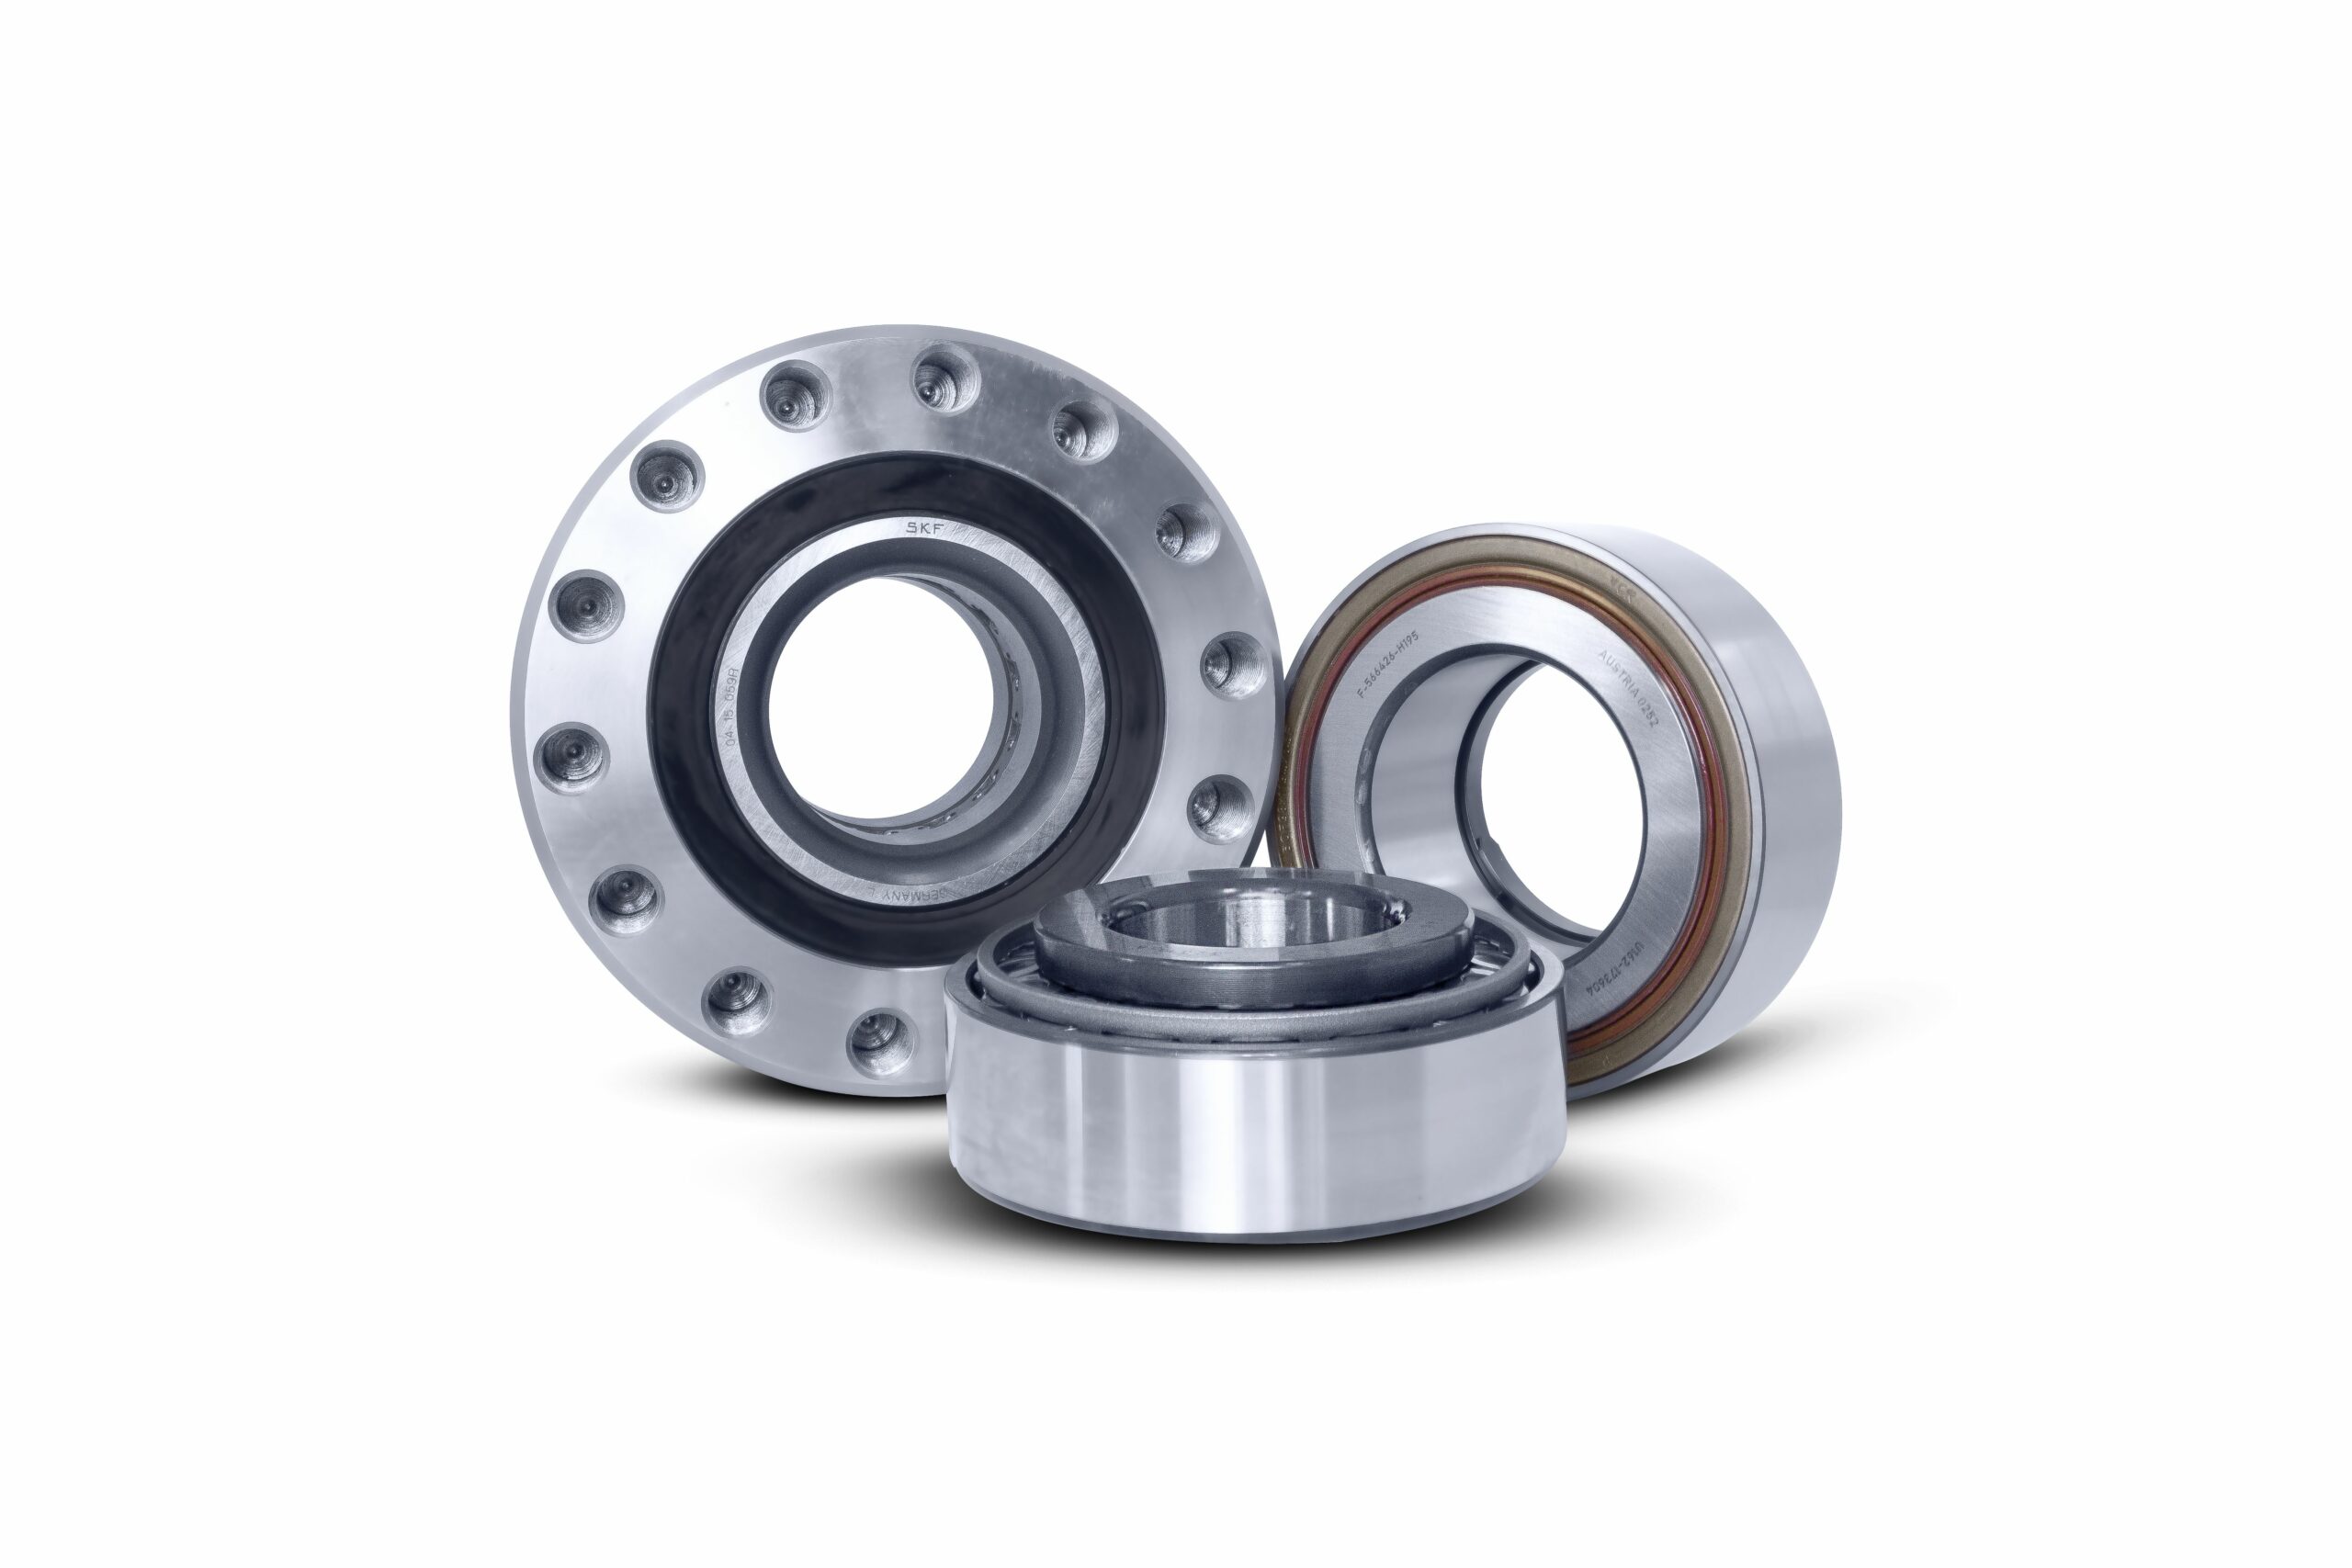
Expert advice and high quality parts from CV Hubs & Bearings
At CV Hubs & Bearings, we’re specialists in all things HGV, bus, and trailer wheel hubs kits and bearings. Our experienced team is always on hand to answer any questions you may have.
We stock an extensive range of wheel hub components for a wide range of vehicles.
Contact us to find out more about our services
Back to news